Chargebacks Functional User Manual
Chargebacks
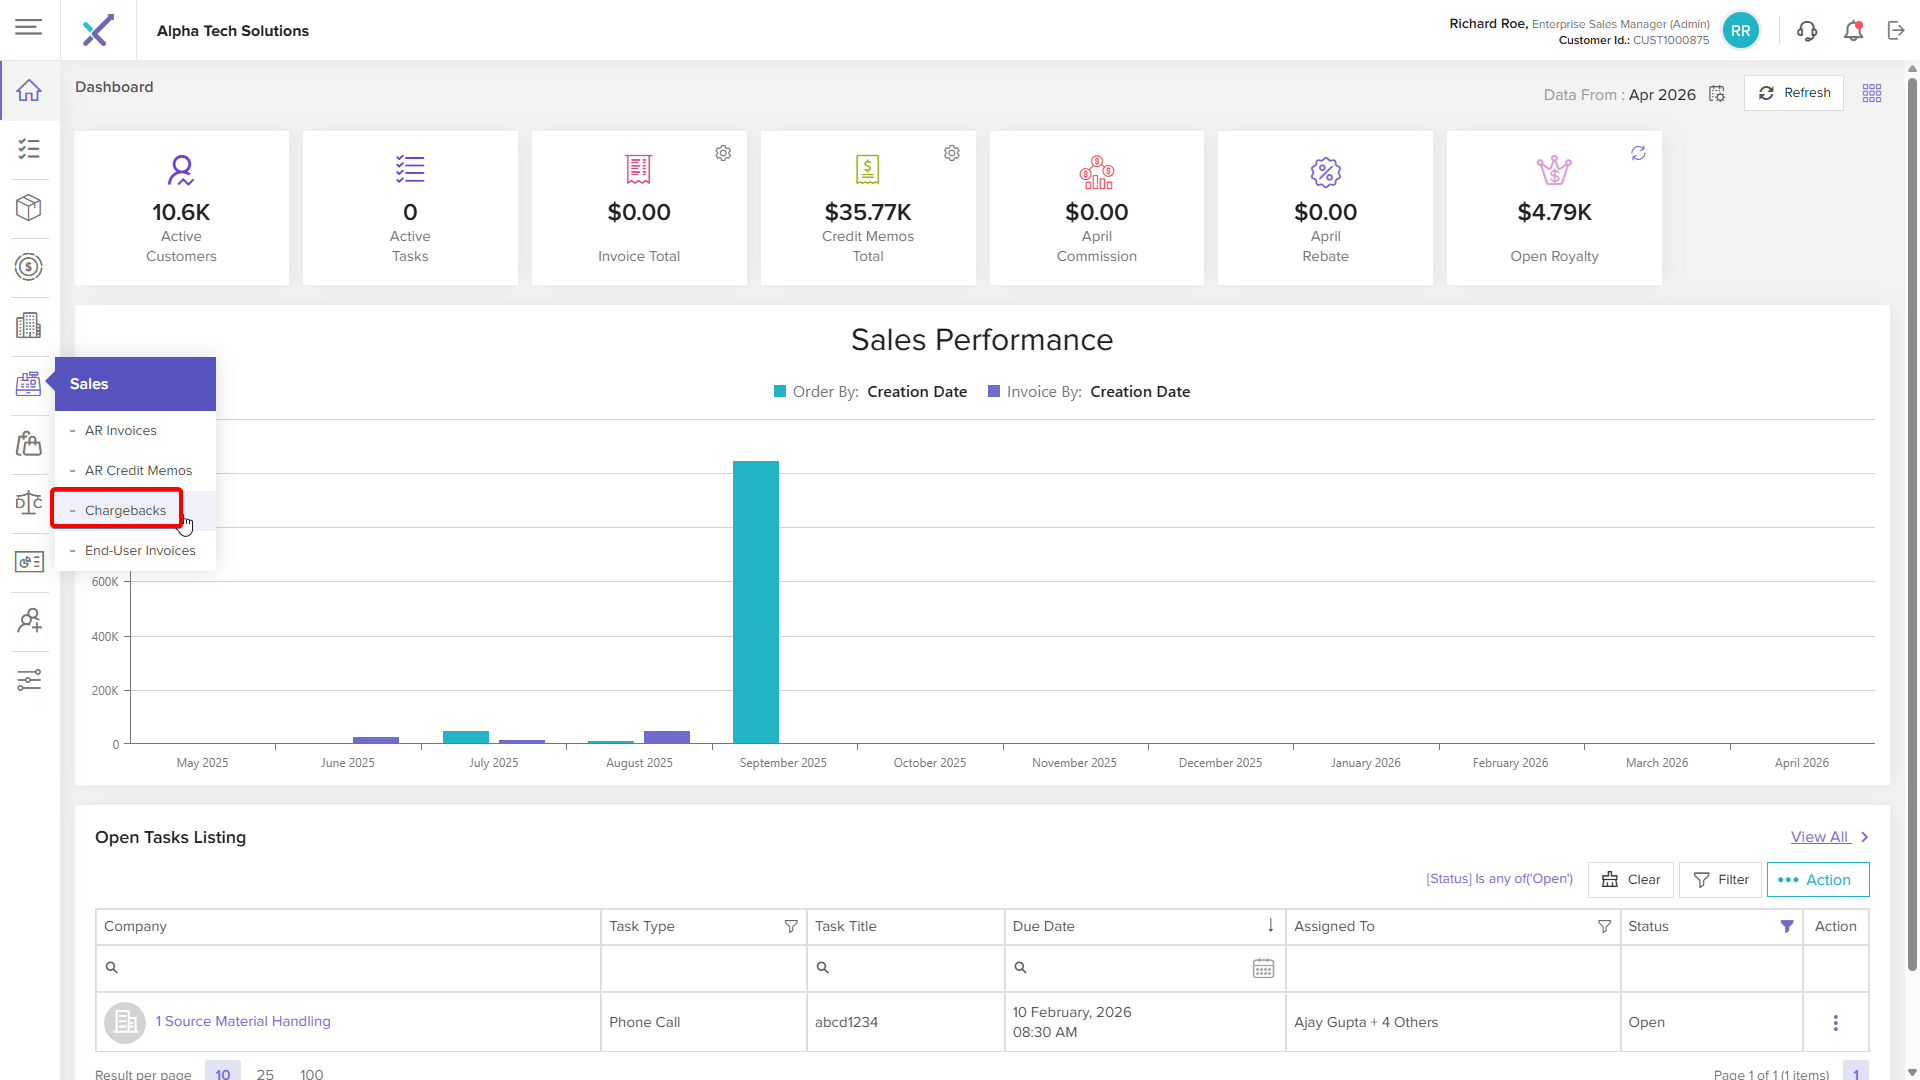
Distribution Chargebacks
Distribution Chargebacks Listing
Add
Step 1: Click the Action
Step 2: Click the Add New
Step 3: Click icon and select customer
Step 4: Click and select Contract from list

Note: Contract list appear from Incentives-> Billback Chargeback-> Distribution Chargeback Type Contracts created and Active for selected customer
Step 5: Fill other details click and select Invoice from list
Note: Invoices list appear as per selected contract
Step 6: Click and select chargeback type from list
Note: Chargeback Type display as per selected contract added in list Incentives-> Billback Chargeback-> Distribution Chargeback Type
Step 7: Select Item and Enter Claim Qty
Step 8: Enter Claim Amount and Click on Add
Note: Item display as per selected Invoices step 5
After click on Add System will save add chargeback type in list and display success message
Add Documents
Step 9: Click on Action-> Add Documents
Step 10: Select file and enter other details click on Add
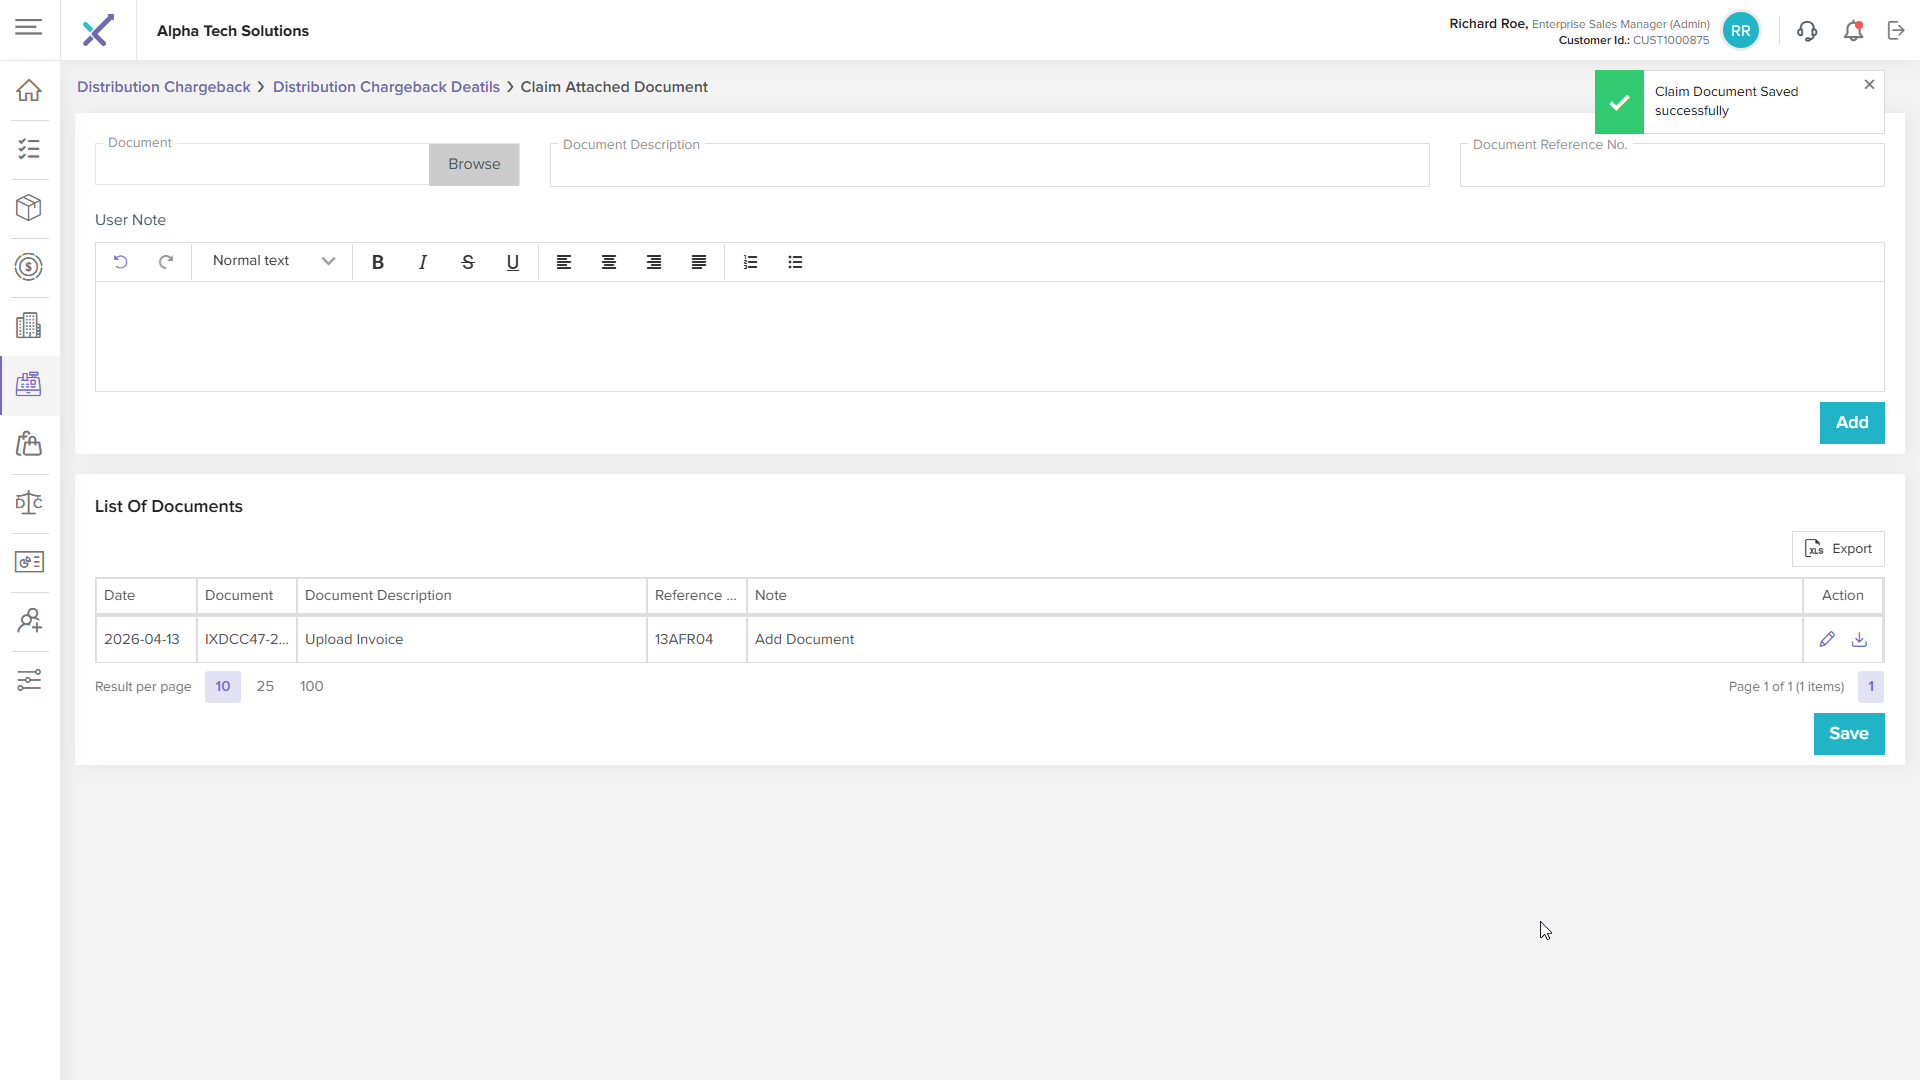
After click on add system will add in list and display success message
Edit Document
Step 11: Click on Edit
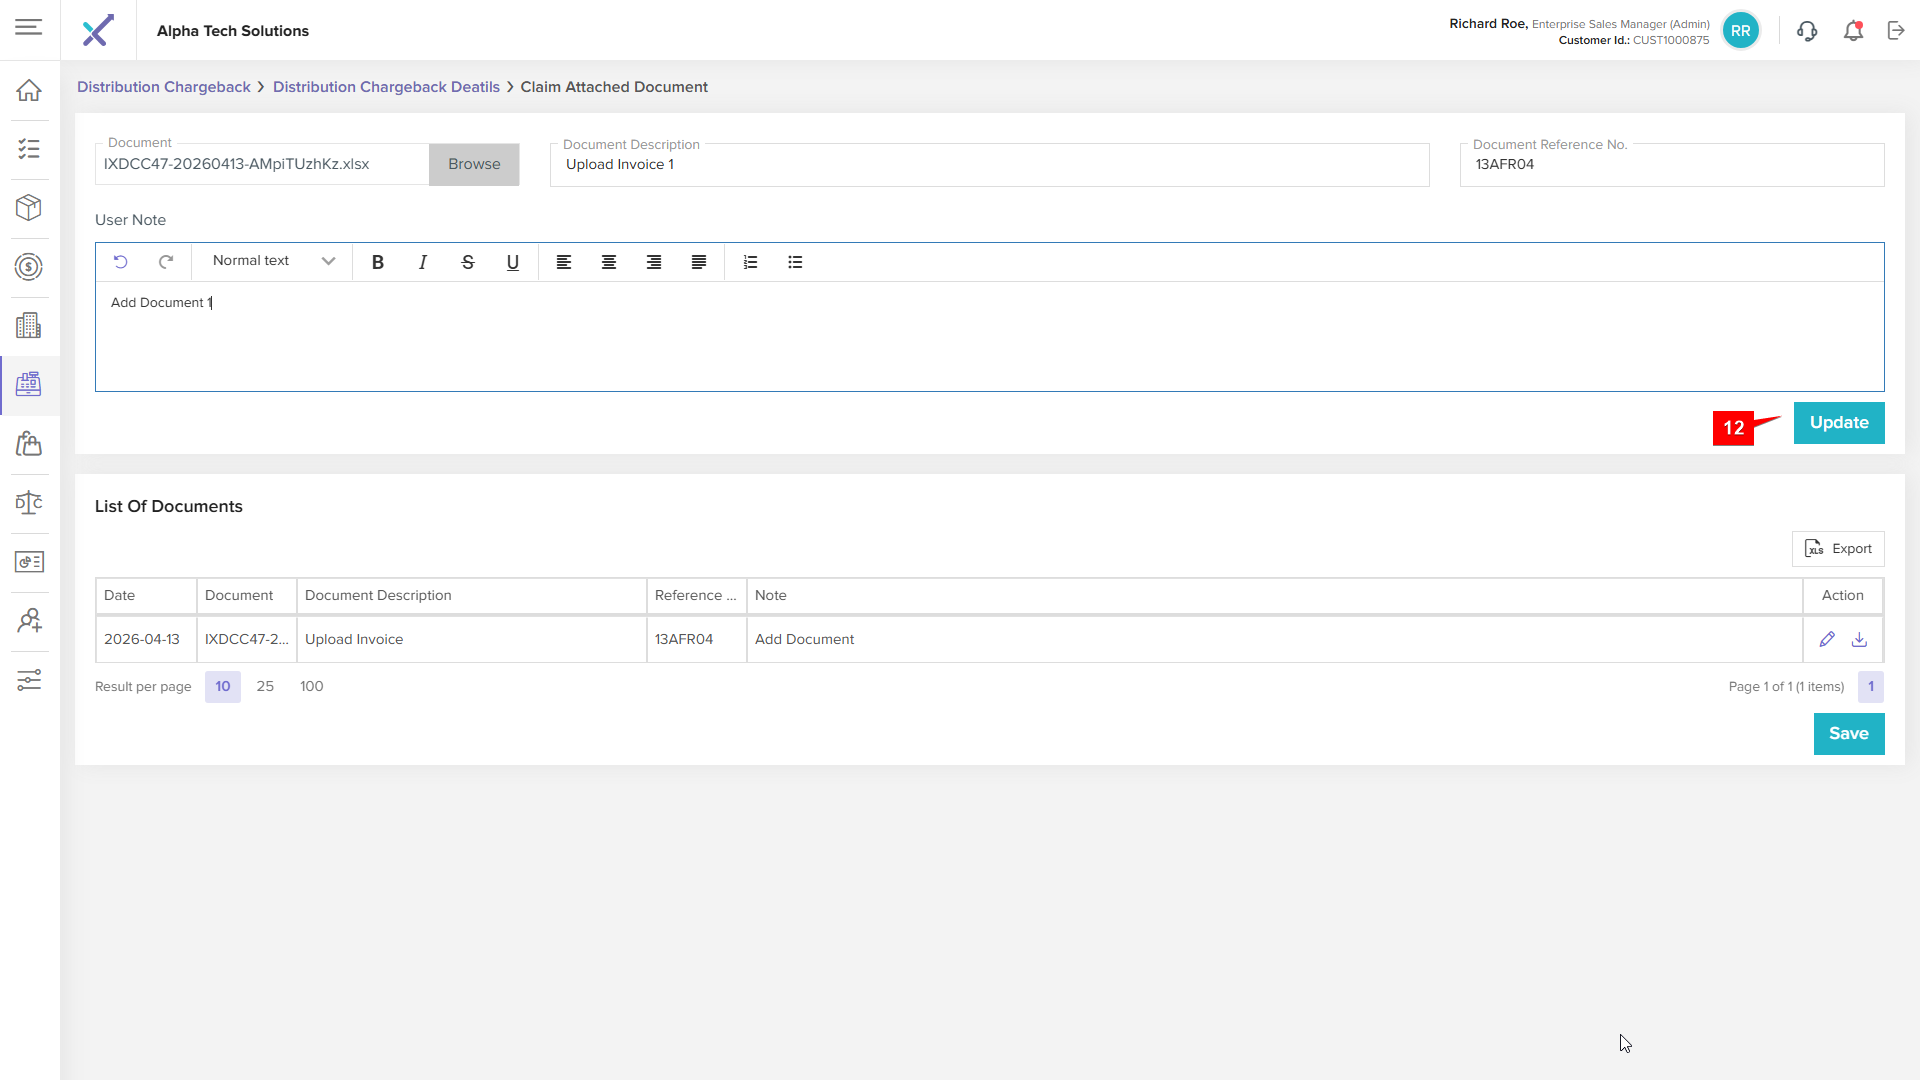
Step 12: Change anything and click on Update
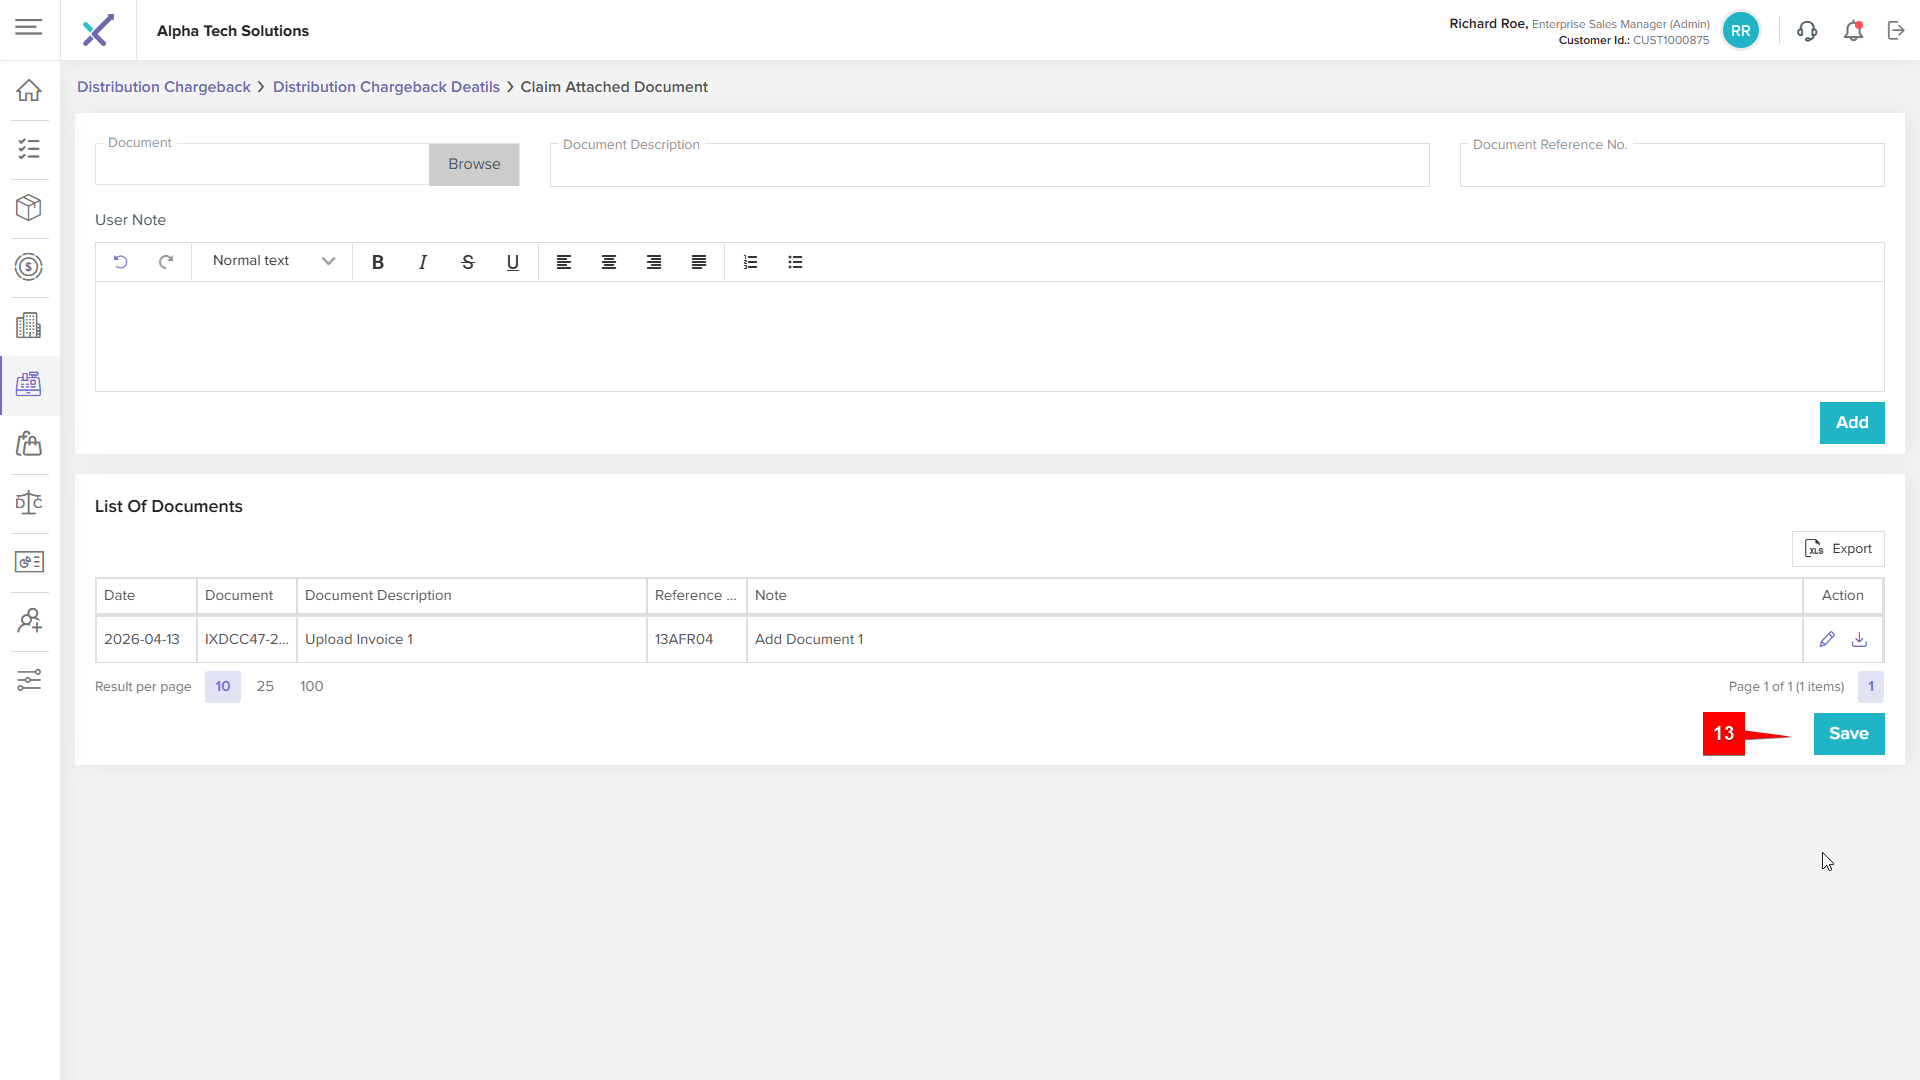
Step 13: Click on Save
Step 14: Click on Submit Credit Memo
Step 15: Click OK OR Cancel
After click on ok system will display success message and display generated credit memo amount
Go to listing page search added distribution chargeback in list
Go to Sales-> AR Credit Memo search with date and verify total
Click and open details page of credit memo
Note: System display Action icon only which one chargeback is open click and cancelled
End- User Chargebacks
End - User Chargebacks Listing
Add Claim
Step 1: Click the Action
Step 2: Click the Add Claim
Step 3: Click Browse File and select the file you wish to upload
Step 4: Browse and select file
Step 5: Click Validate Claim
Click Rejected Item(s) system will display invalid data with remarks why is reject
Click on Successful (Uploaded Items) system will display uploaded file data valid
Step 6: Click on Submit Claim
System should redirect listing page and display success message
View Chargeback Document
Step 1: Click on View Icon
Step 2: Click on Approved Qty
Step 3: Click on Doc. No
Click on X(close) icon for close pop up
Click on Ignored Item(s)
Click on Rejected Item(s)
Go to Sales-> AR Credit Memo search with date and verify total
Click and open details page of credit memo, click on source document
System open a chargeback document page when click on source document page
Click Action-> View Document
System will display chargeback document pop up for claims
Note: End-User chargeback listing page system display Delete icon only which one status is IN Process
TPM Claims
TPM Claims Listing
Add Claim
Step 1: Click the Action
Step 2: Click the Add Claim
Click and select Customer and enter Claim Date
Note:
1. Promotion list display as per select the customer (Selected customer added in which promotion system will display only those promotion where added Incentive-> Trade Promotion )
2. If you not select customer system will display all promotion name from Incentive-> Trade Promotion
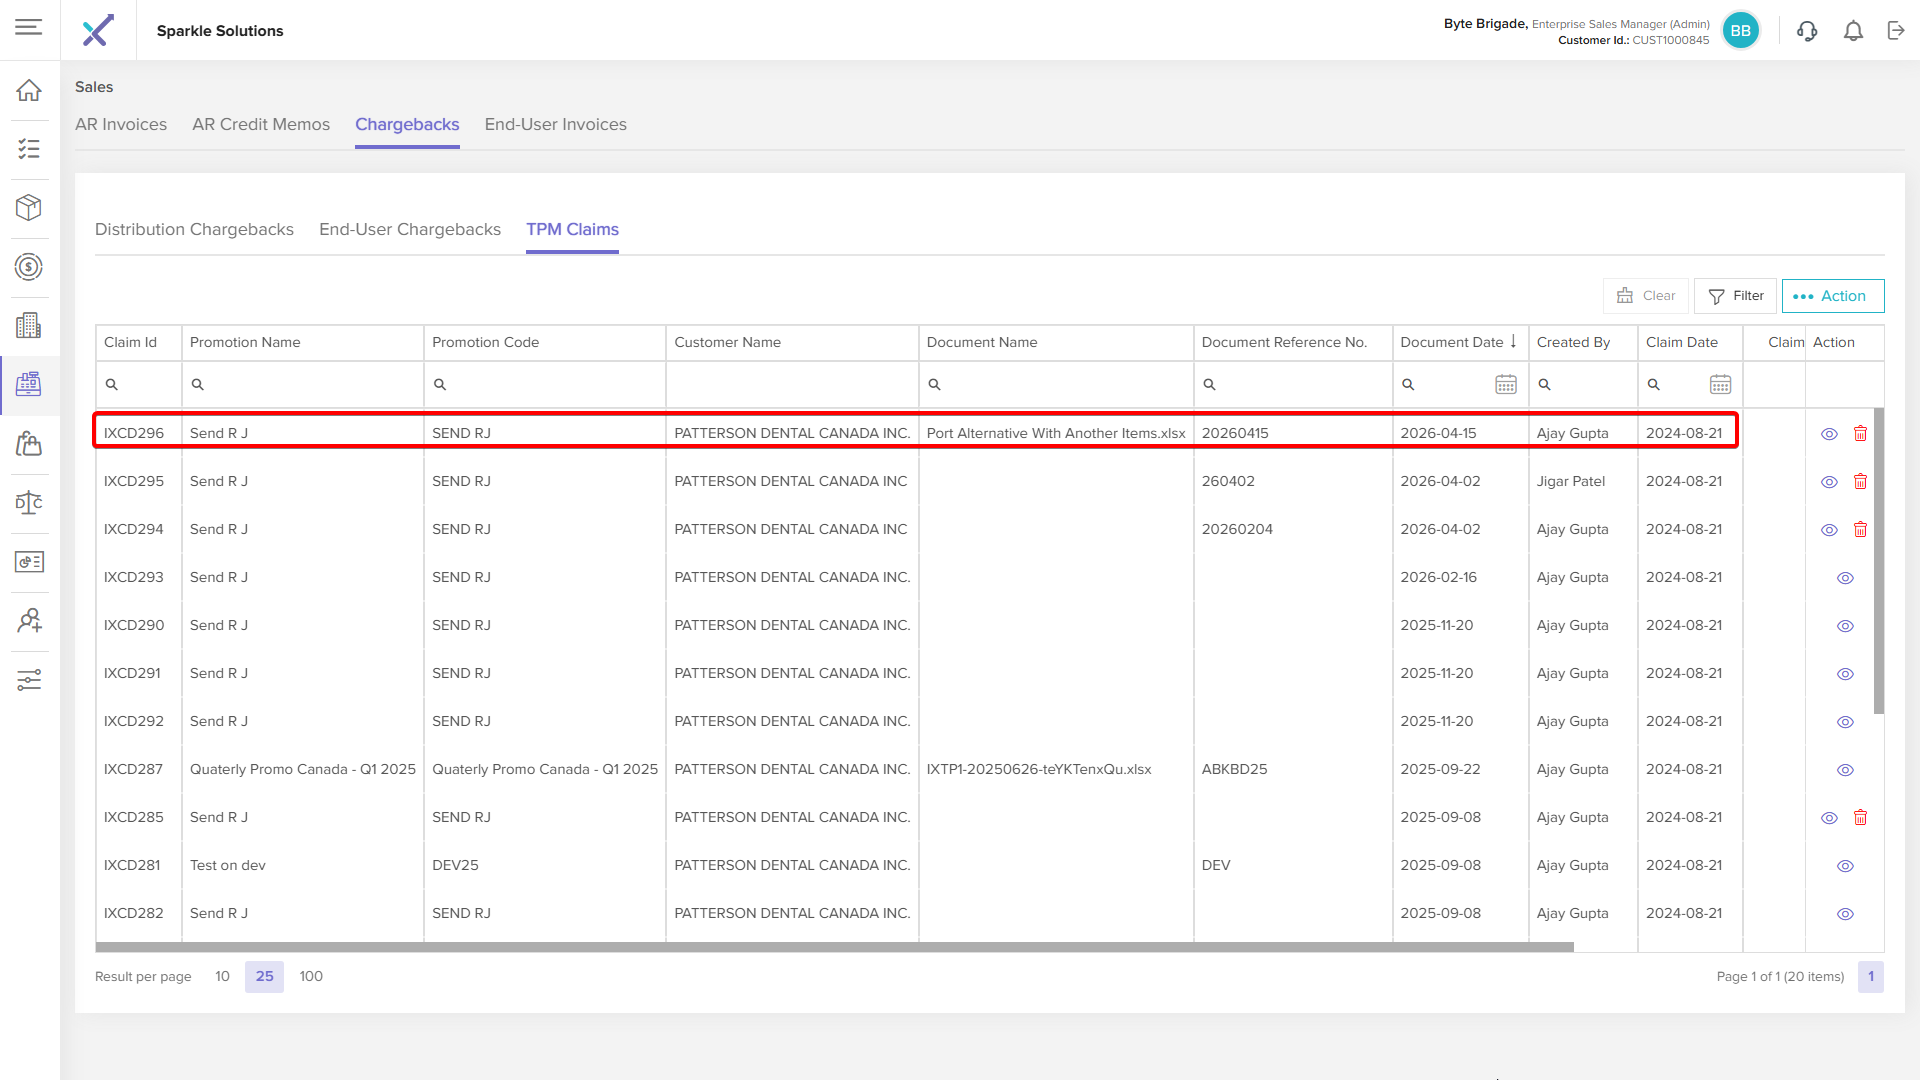
3. If you select claim date system will display promotion name as per claim date within the promotion start and end date range as above image where claim date selected
Ex: Claim date 2024-08-21 so any promotion start date: 2024-08-01 end date: 2026-12-31
Step 3: Browse and select file
Step 4: Click Upload Claim
Click Eligible Item(s) system will display invalid data with remarks why is reject
Click on Rejected Item (s) system will display uploaded file data valid
Step 5: Click on Submit
System should redirect listing page and display success message
Delete
Step 1: Click the Delete icon next to the schedule report
Step 2: Confirm by clicking OK to delete, or cancel to abort the action
Note: Delete Button only display which claim status in Draft
View Claim
Step 1: Click on View Icon
Claimed Item(s)
Step 2: Click on Edit Icon
Step 3: Click and Select Reason from list Reason Description will automatically display as per selection of reason
Step 4: Click Save
Note: If you select Reason-> Other you will to enter Reason Description Manually as you want
Note: Reason and Reason Descriptions list appear from Application Settings-> Custom Properties-> Override Reasons Added
Step 5: Click on Reset Icon
System will remove status and change values as highlighted
Step 6: Click on Confirm Override Qty
Step 7: Confirm by clicking OK or Cancel to abort the action
After click ok system will change status and display success message and remove confirm override qty button
Ignored Item(s)
Step 8: Select Checkbox OR Select All
Step 9: Click on the Add Item(s) to Override
Step 10: Confirm by clicking OK or cancel to abort the action
After click on OK system move item in Claimed Item(s) tab
Step 11: Click on Reset Icon
Note: For Confirm Override Qty action you can follow same as steps 6,7
After perform step 11 system will reset item and move to Ignored Item(s) tab again
Rejected Item(s)
Item's list is which one display in Rejected Item(s) tab while Add Claim
Document Trail
Note: This tab display when you Application Settings-> System Configuration-> Trade Promotion Approval Workflow-> ON
Send Ignored/ Rejected Items to Other Promotion
Note: This functionality we checked with another contract as in current contract we don't have sufficient claim date
Step 1: Click on the Send Ignored/ Rejected Items to Other Promotion
Step 2: Click on drop down icon and select promotion from the list
Step 3: Select which item you want to sent to new claim in the selected promotion
Note: Promotion list display as per selected Claim Date
Step 4: Enter the User Note
Step 5: Click the Create Claim
Step 6: Confirm by clicking OK or Cancel to abort the action
System will redirect to TPM Claim Pop up where Eligible Item(s) and Rejected Item(s) tab display
Step 7: Click the Submit
After click the submit system will create the claim and display success message
Step 8: Click on the Child Claims no as created
System will open a child claim as we created
Related Articles
End User Invoices Functional User Manual
End User Invoices End User Invoices Listing Import Step 1: Click the Action button Step 2: Select Import Step 3: Click and select Template Type Step 4: Click Browse File and select the file you wish to upload Step 5: Click Upload to begin the import ...AR Invoices Functional User Manual
AR Invoices AR Invoices Listing View Invoice Details Click on Any AR Invoice to open details page Open Invoice Click on Source Invoice ID to view details Closed Invoice Creating Virtual Invoice Step 1: Click on Action Step 2: Click Create Virtual ...AR Credit Memos Functional User Manual
AR Credit Memos AR Credit Memo Listing Import Step 1: Click the Action button Step 2: Select Import Step 3: Click Browse File and select the file you wish to upload Step 4: Click Upload to begin the import Click on Valid Rows system will display ...